TimeWise – First Time Setup
This guide helps you set up your environment properly in a few steps, so callers can immediately make a choice and schedule a callback request.
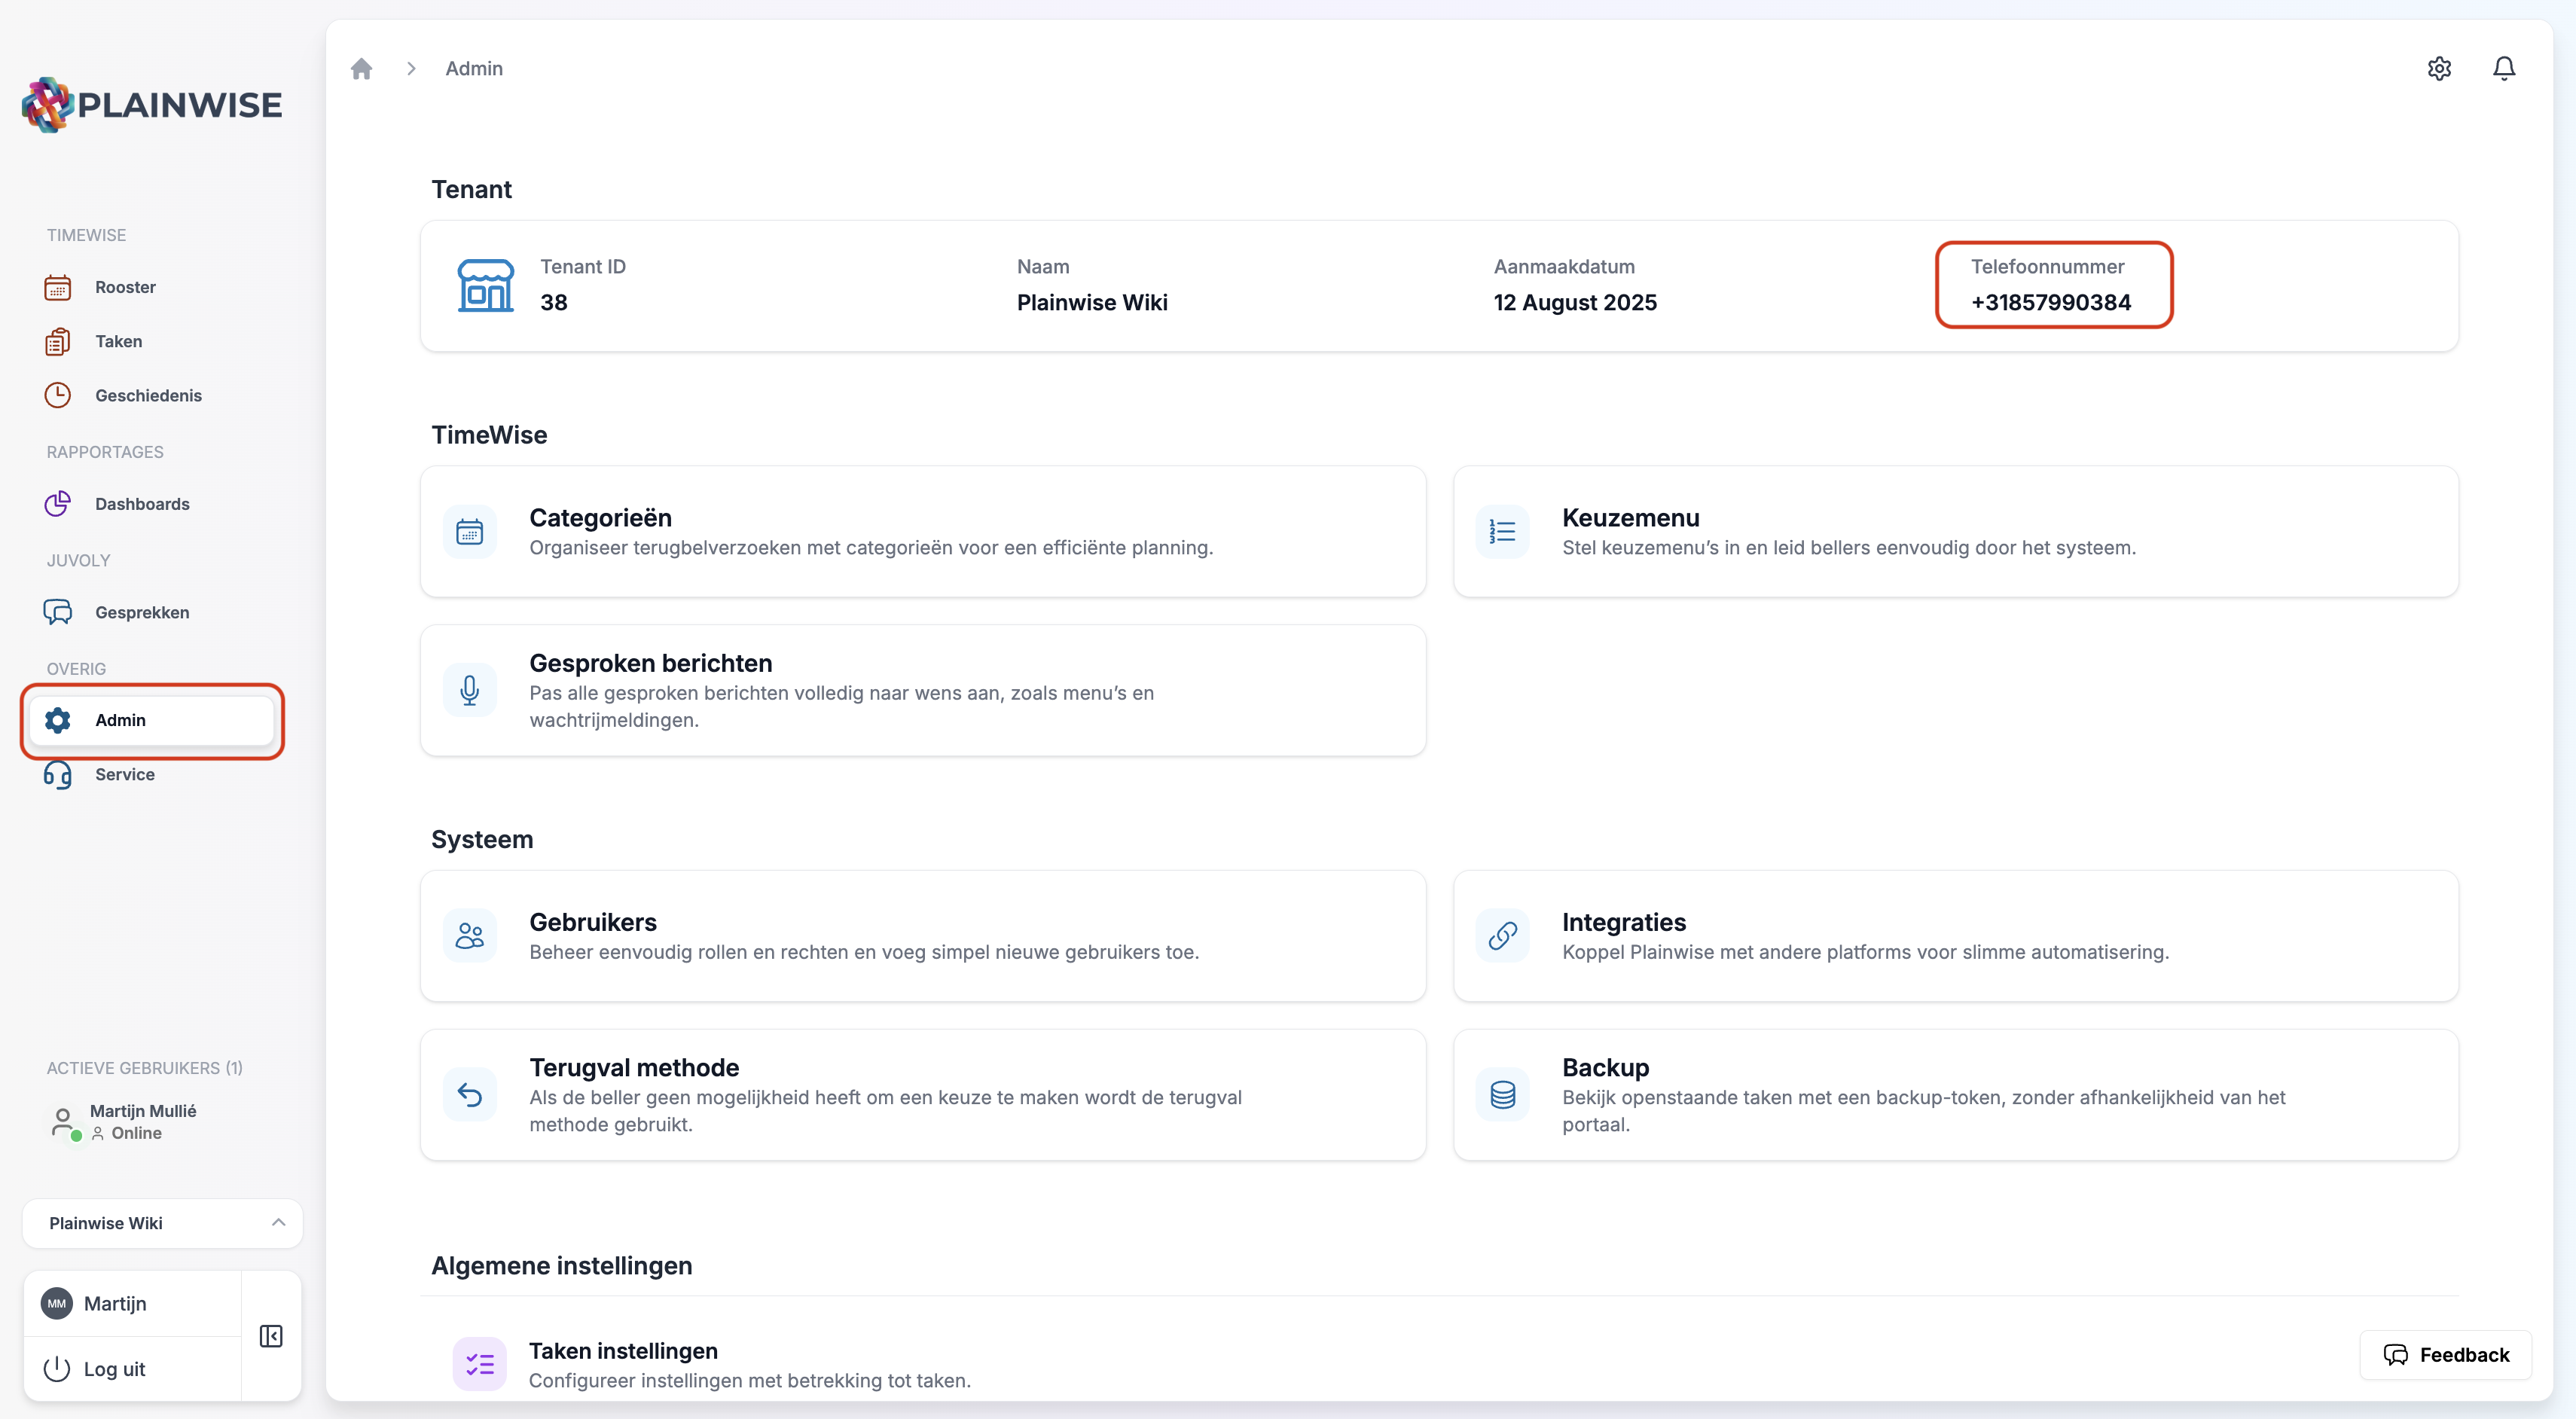
0. What you need
- Access to the Admin screen (left menu → Admin).
- The entry phone number is displayed in the top right of the Admin screen.
1. Create categories
Without categories, the system cannot create callback requests.
- Go to Admin → Categories and click Create.
- Fill in:
- Name: for example Medical Assistant, Repeat Prescriptions, Intercollegial Consultation.
- Description: brief explanation (optional).
- Appointment duration (seconds): this is the standard time between two appointments.
Example times:
Medical Assistant → 300 seconds (5 min)
Repeat Prescriptions → 480 seconds (8 min)
Intercollegial Consultation → 900 seconds (15 min)
Color: choose a recognizable color per category.
- Click Create and repeat for all categories you want to use.
Note
Does administration need to happen after each conversation? Then add that time to the appointment duration. This prevents appointments from being too close together.
2. Fill the default selection menu
Every environment has a default selection menu. This menu is used when no other selection menu is linked to the schedule.
- Go to Admin → Selection Menu and open Default.
- Add a choice per category and link it to a key (e.g., key 1 = Medical Assistant).
- For Spoken message, choose what callers hear:
- Click on No recording selected → choose Choose existing or Create new.
- For Create new:
- Category: Selection Menu.
- Text: for example "For the medical assistant".
- Adjust the speaking speed if necessary (recommended: 0.90).
- Click Preview to listen and then Save.
- Save the selection menu.
Tip
If there's only one choice in the selection menu, the menu won't be played and that choice will be selected directly. So add at least two choices if you want to hear a spoken menu.
3. Set callback availability (schedule)
Now you ensure the system can offer times.
- Go to Schedule (left menu → Schedule). You'll see an empty week.
- Click Actions → Add Callback Availability in the top right.
- Fill in:
- Time slot: for example 09:00 to 17:00.
- Agent capacity: number of simultaneous callback appointments (at 3 FTE → 3).
- Event category: select the categories that can be scheduled in this time slot (e.g., Medical Assistant, Repeat Prescriptions, Intercollegial Consultation).
- Select days of the week: for example Mon to Fri.
- Repeat options: choose Repeat until and set an end date (e.g., Dec 31 2026).
- Open Advanced settings and turn on Forward planning allowed (e.g., 1 day). This allows someone to schedule something for tomorrow today if today is full or inconvenient.
- Click Confirm.
Immediately active: As soon as it's saved, this availability is immediately active for the calling system.
4. Quick testing
- Call the entry phone number displayed on the Admin screen.
- Choose Medical Assistant in the selection menu, for example.
- You'll hear a confirmation that the reservation has been made.
- Go to Tasks: you'll see the new callback task appear in the list.
Alternative: In Tasks → Actions, you can use Test your phone line to automatically make a test call.
5. Troubleshooting
No times available
Check in Schedule whether the correct categories are linked to the time slot, whether the days and times are correct, and whether Forward planning is enabled.
Selection menu is not played
There's probably only one choice in the menu. Add a second choice or link a different menu to the schedule.
Category not visible in Tasks
Click on Categories in Tasks and enable the desired category. Also check the Status filter and Date.
Done
With these steps, your environment is ready for use: callers get a clear selection menu, the system finds available times, and callback requests come in nicely in Tasks. You can refine this later by adding extra selection menus, deviating schedules, or specific texts.